In My Garden: My new drip irrigation system

Above: Drip irrigation, two rings, around my small lemon tree.
We are having some serious drought conditions right now and it's important not to waste water, it is such a precious resource. About eight years ago I removed my front lawn and planted native plants in it's place. I also changed the rain-bird watering system to small-area spray heads. This cut my water usage in half. Over the years since installing this system of watering I have noticed three problems:
1. The water is atomized and water particles blow away from where I wanted them to end up, which is on my plants.
2. Since I mulch everything, I was watering on top of the mulch and it takes a good 15 minutes to penetrate the mulch under each tree.
3. Water was streaming away from the intended areas (again, the plants) where there was a slight slope.
I decided to try a drip system and installed one small area to see how well it would work. It worked great. There was no misting of the water, it is fine to be installed under mulch and compost, and there is no run-off on slopes. So I decided to go ahead and install a drip irrigation system in my whole yard, which is one acre with lots of bushes and about 60 fruit trees.
I used 1/4" drip line with 1/2 gallon per hour (GPH) emitters (emitters are built in every 12") on all the native plants. I also used the 1/4" drip line (same GPH) on my small fruit trees, using two rings: one ring with 6" spacing of the emitters around the tree at the tree's outer foliage perimeter with another second 6" ring inside the first ring. You can see an example of this on the picture above.
On my larger trees I used a 1/2" drip line with 12" emitter spacing, 1/2 GPH, placing the first line again in a ring around the tree on the outer foliage perimeter and a second line 12" inside of the first ring. I also had to add a filter and pressure reducer at each valve so the micro emitters wouldn't get clogged.
It has been a lot of work, taking up many of my Sundays (my only day off) because of the size of my yard and the number of trees I have, but once you get going it's not difficult to do. I like the fact that I am doing my part to help conserve water. I also like the idea that my next water bill will be much lower than my previous bills. I will let you know how much I am saving in a future blog.
I have included several pictures below to give you an idea on how I placed the drip lines around my trees, along with a picture of the valve, filter and pressure reducer.
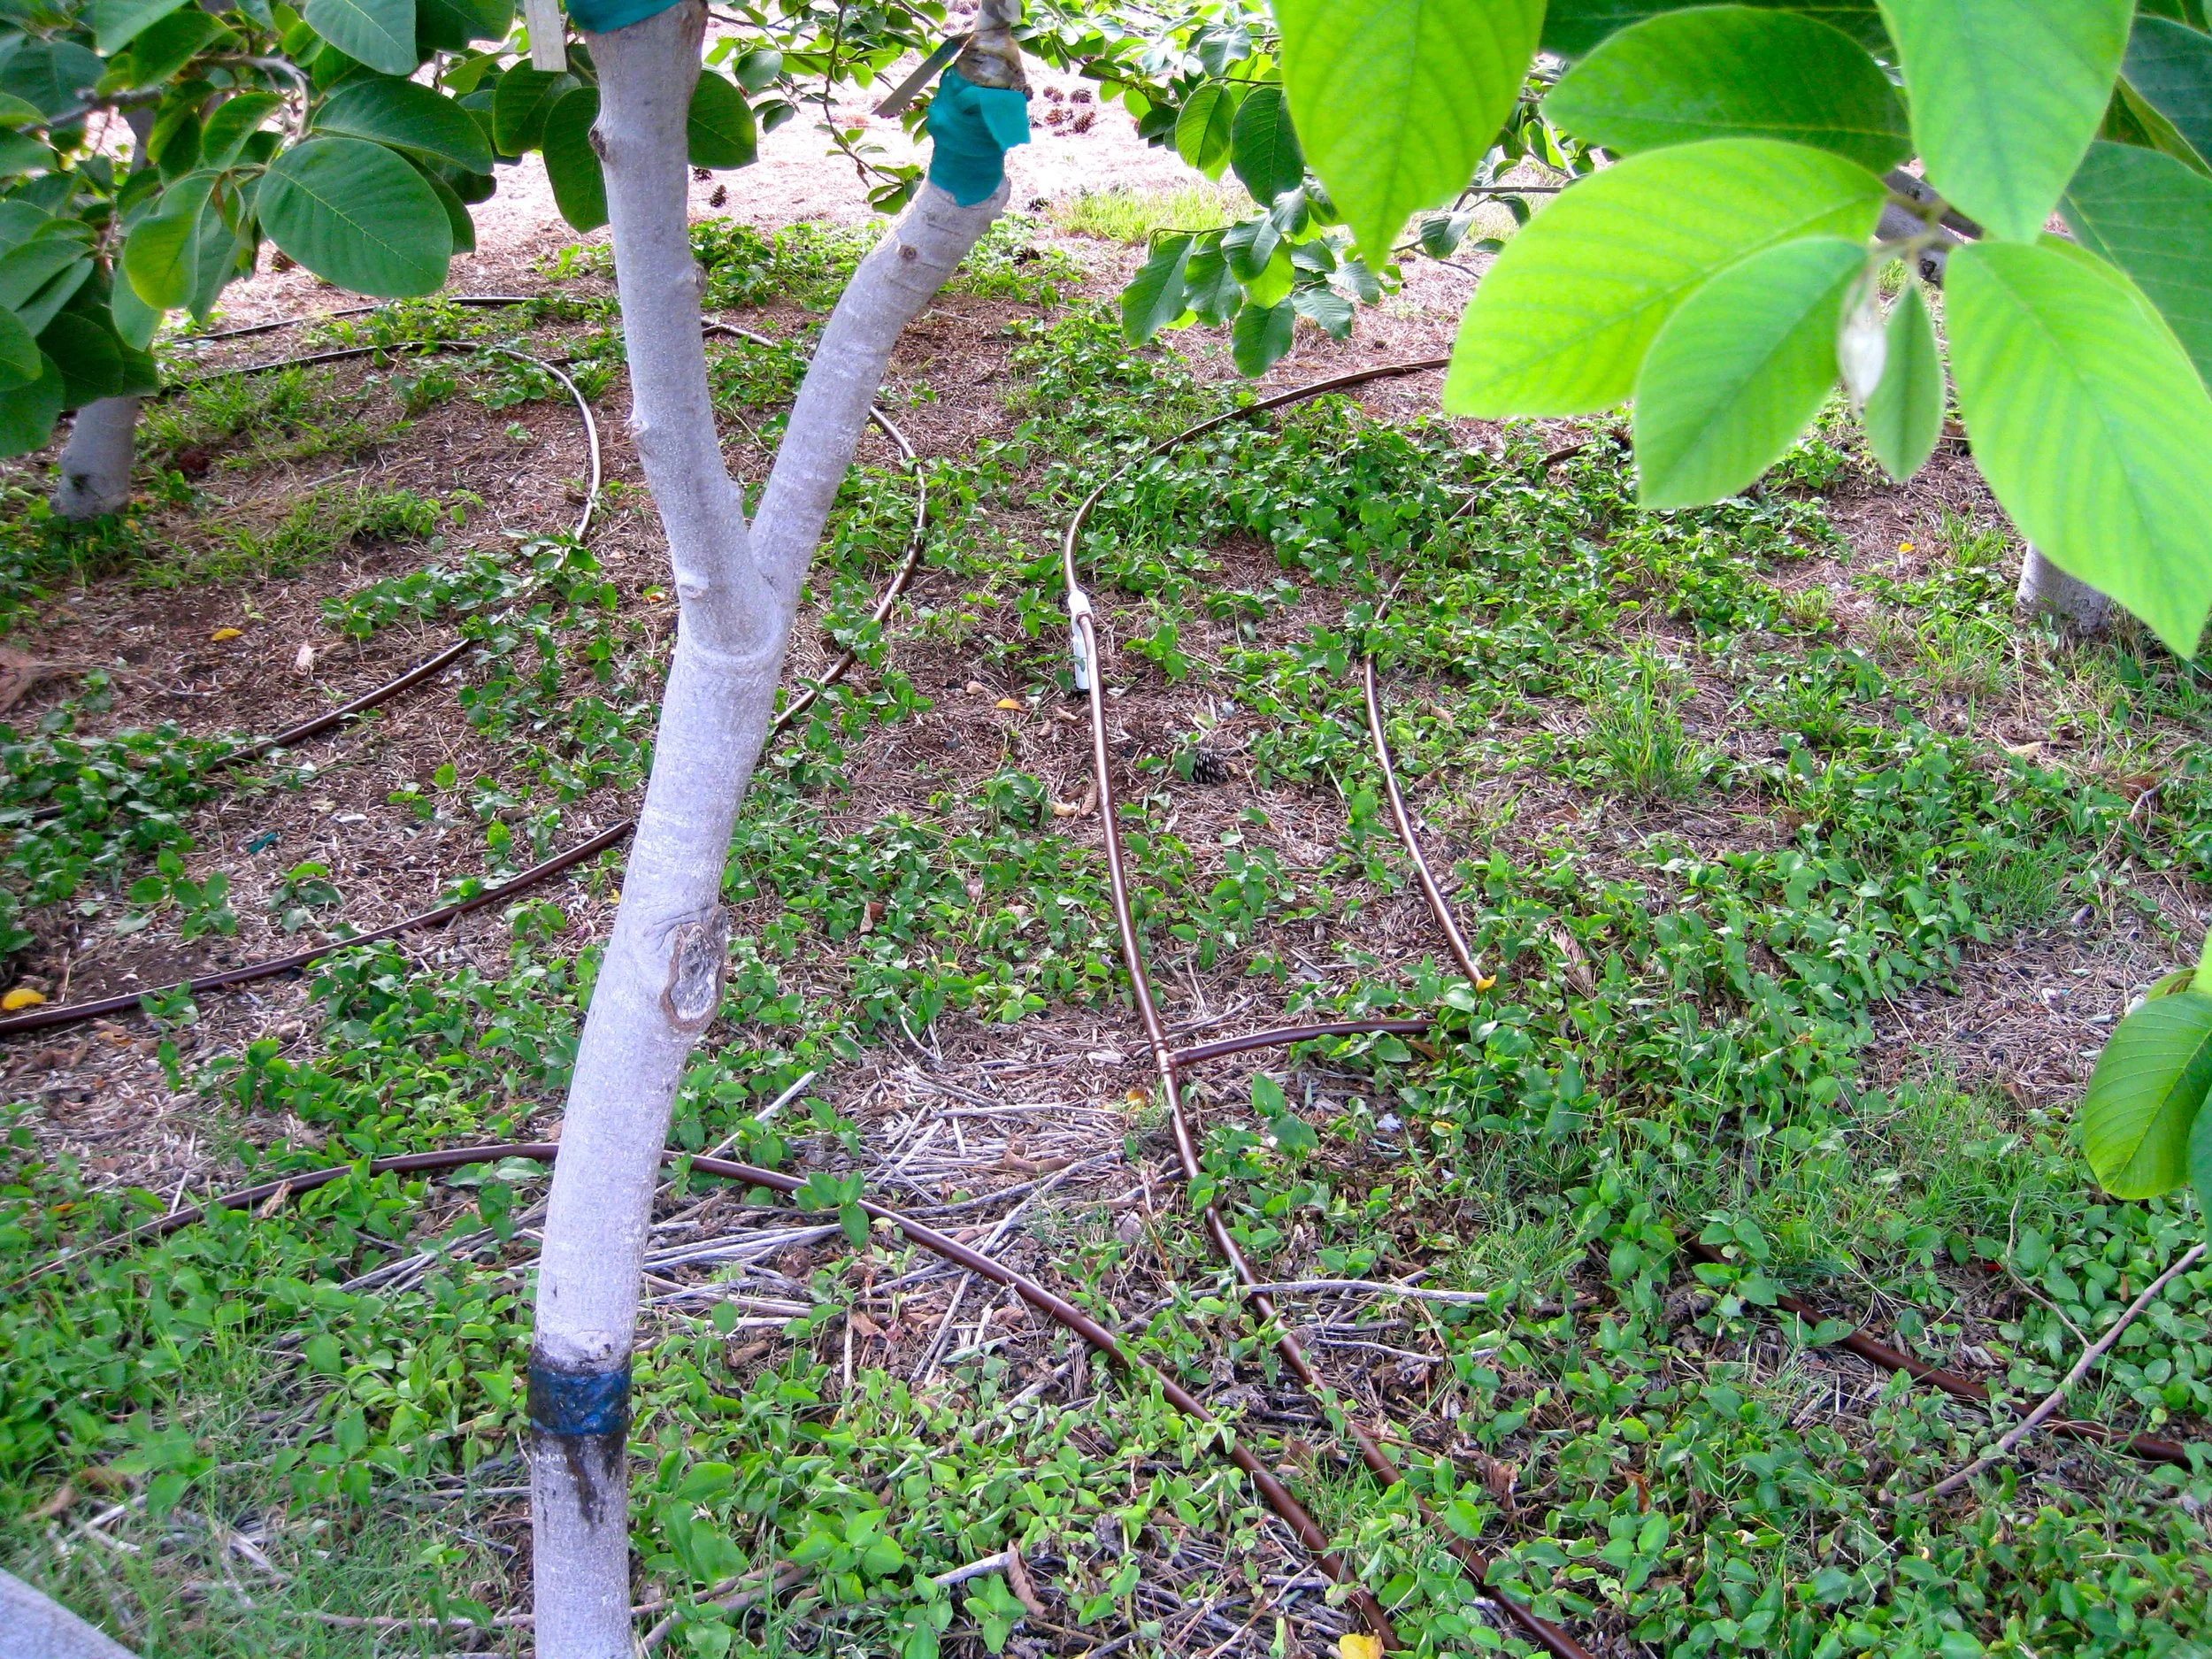
Above: 1/2" drip lines, in two large rings, under my larger trees, my chermoya's and avocados.

Above: 1/4" drip lines, using only one ring around the smaller plants and bushes.
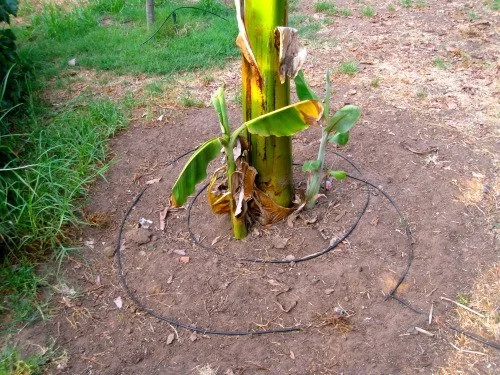
Above: 1/4" drip line, using two rings, around my banana trees.
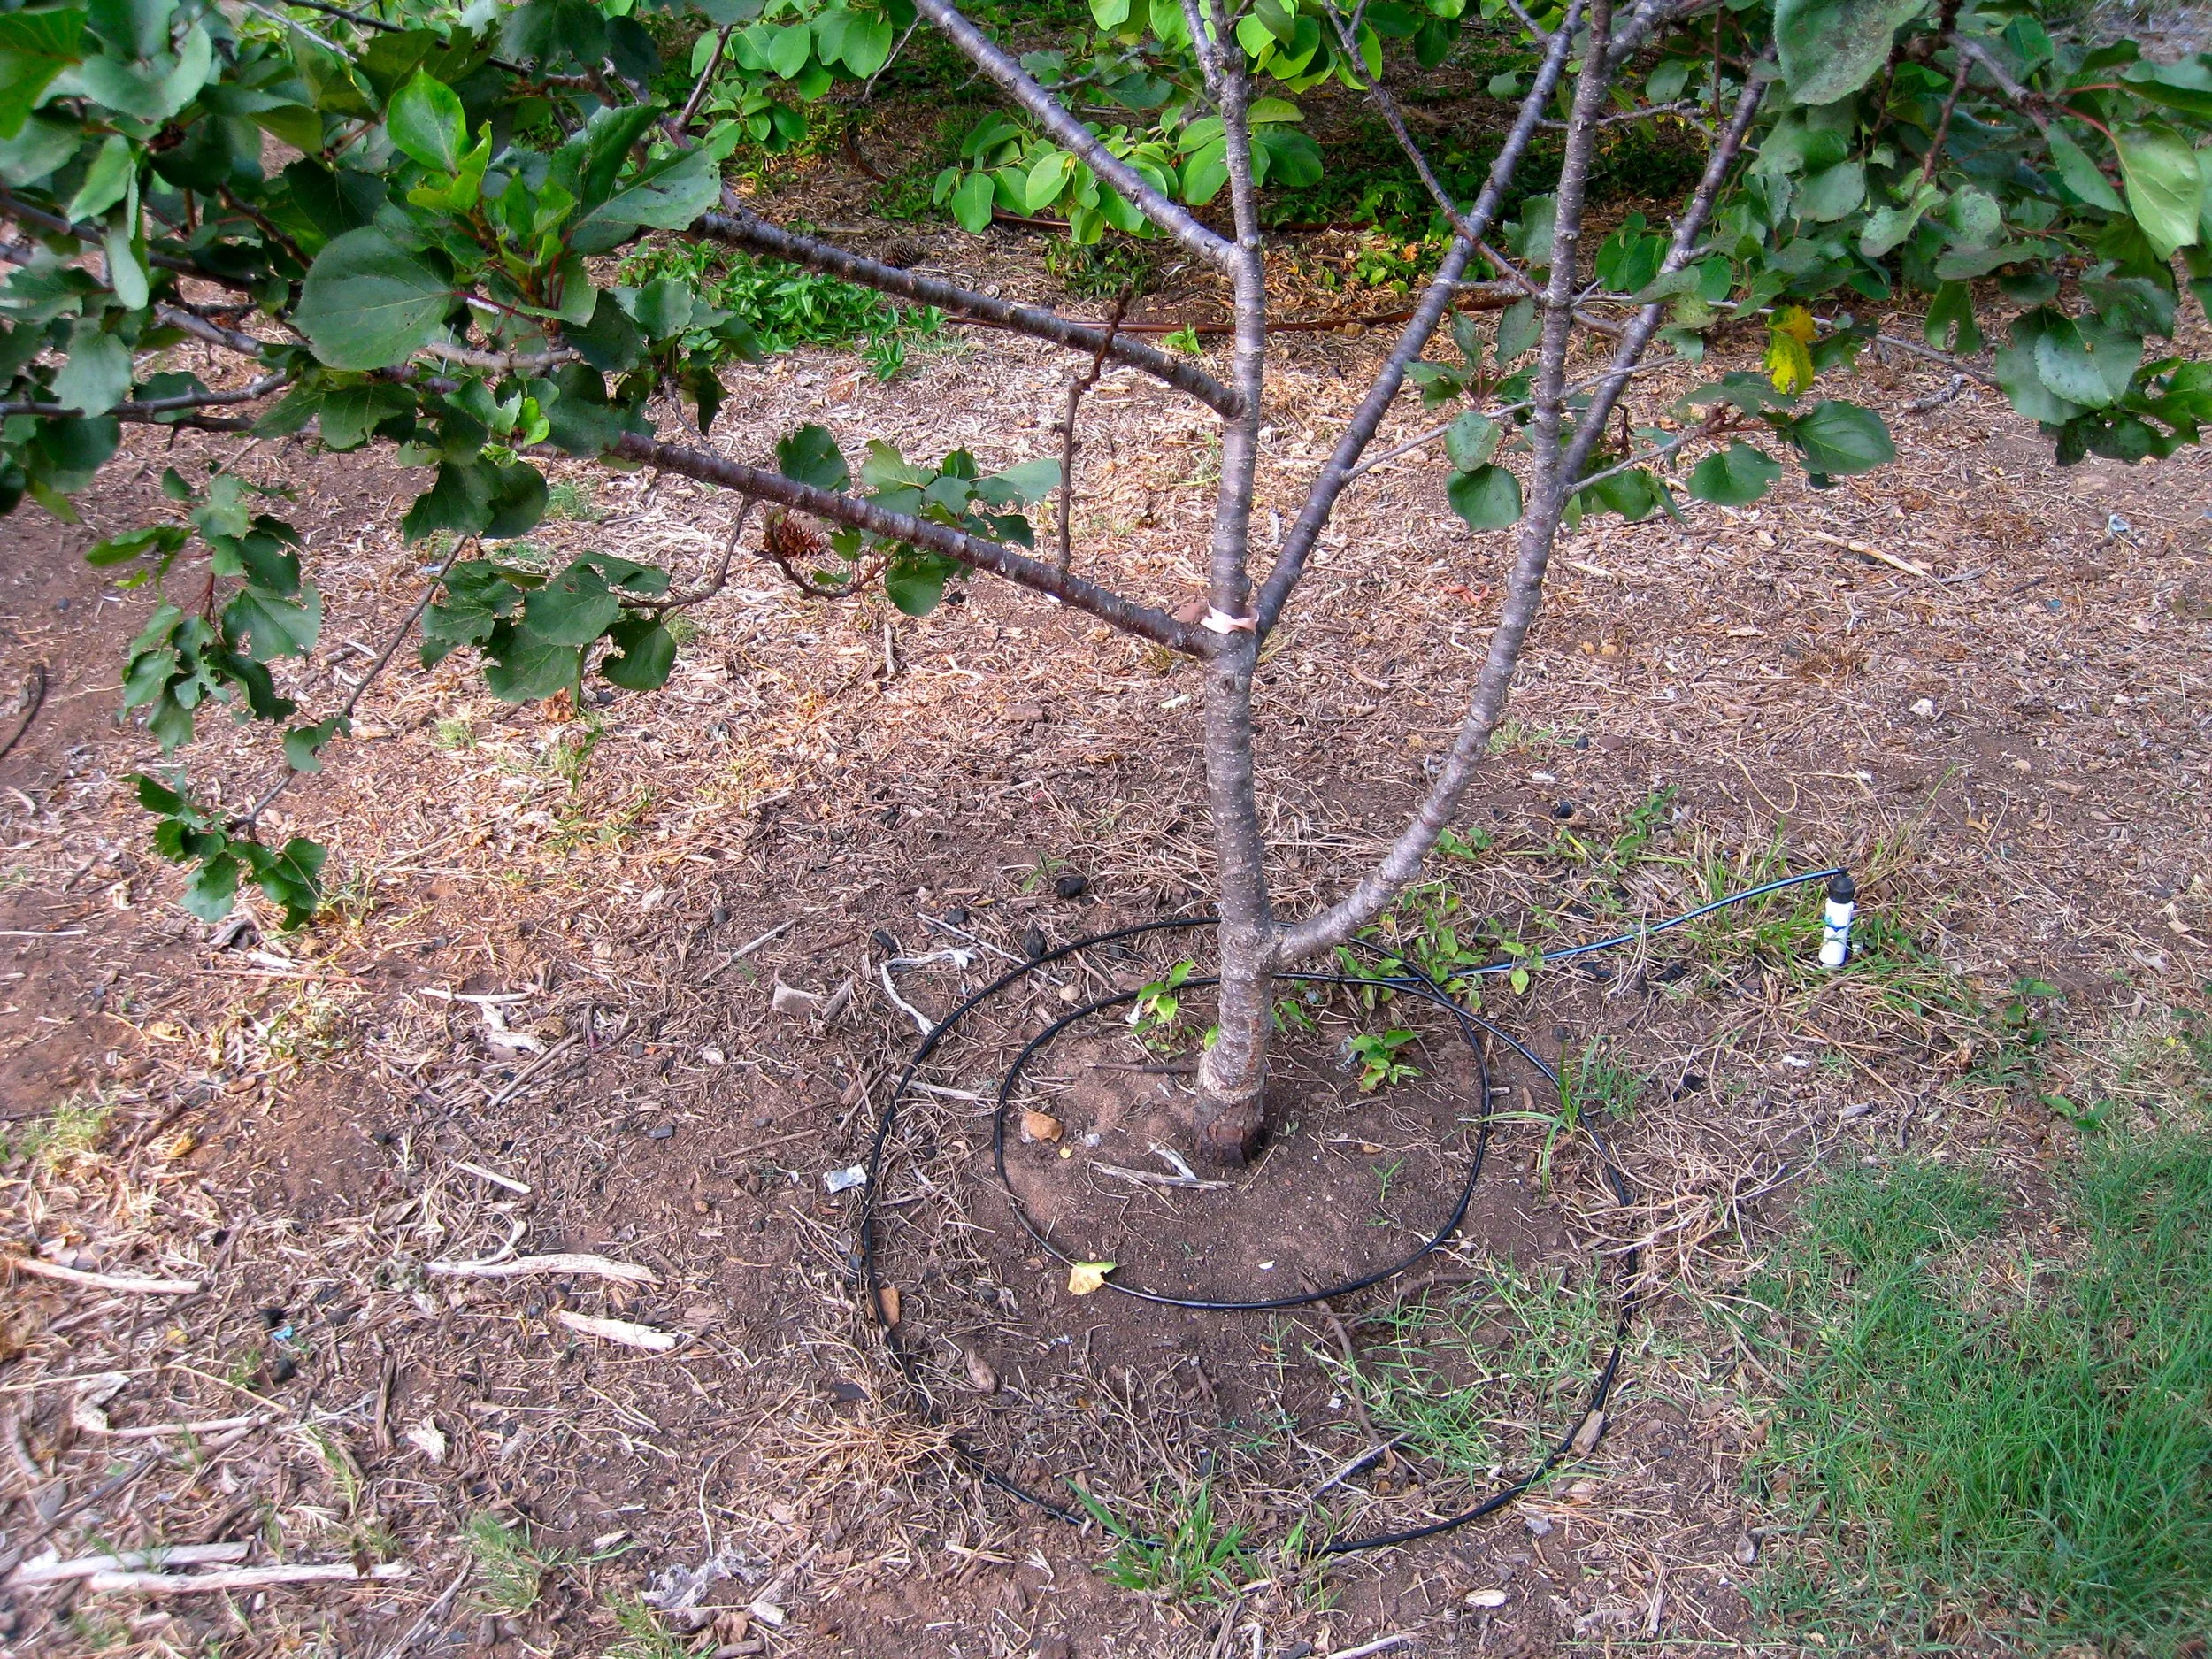
Above: 1/4" drip line, using two rings, around my small apricot tree.
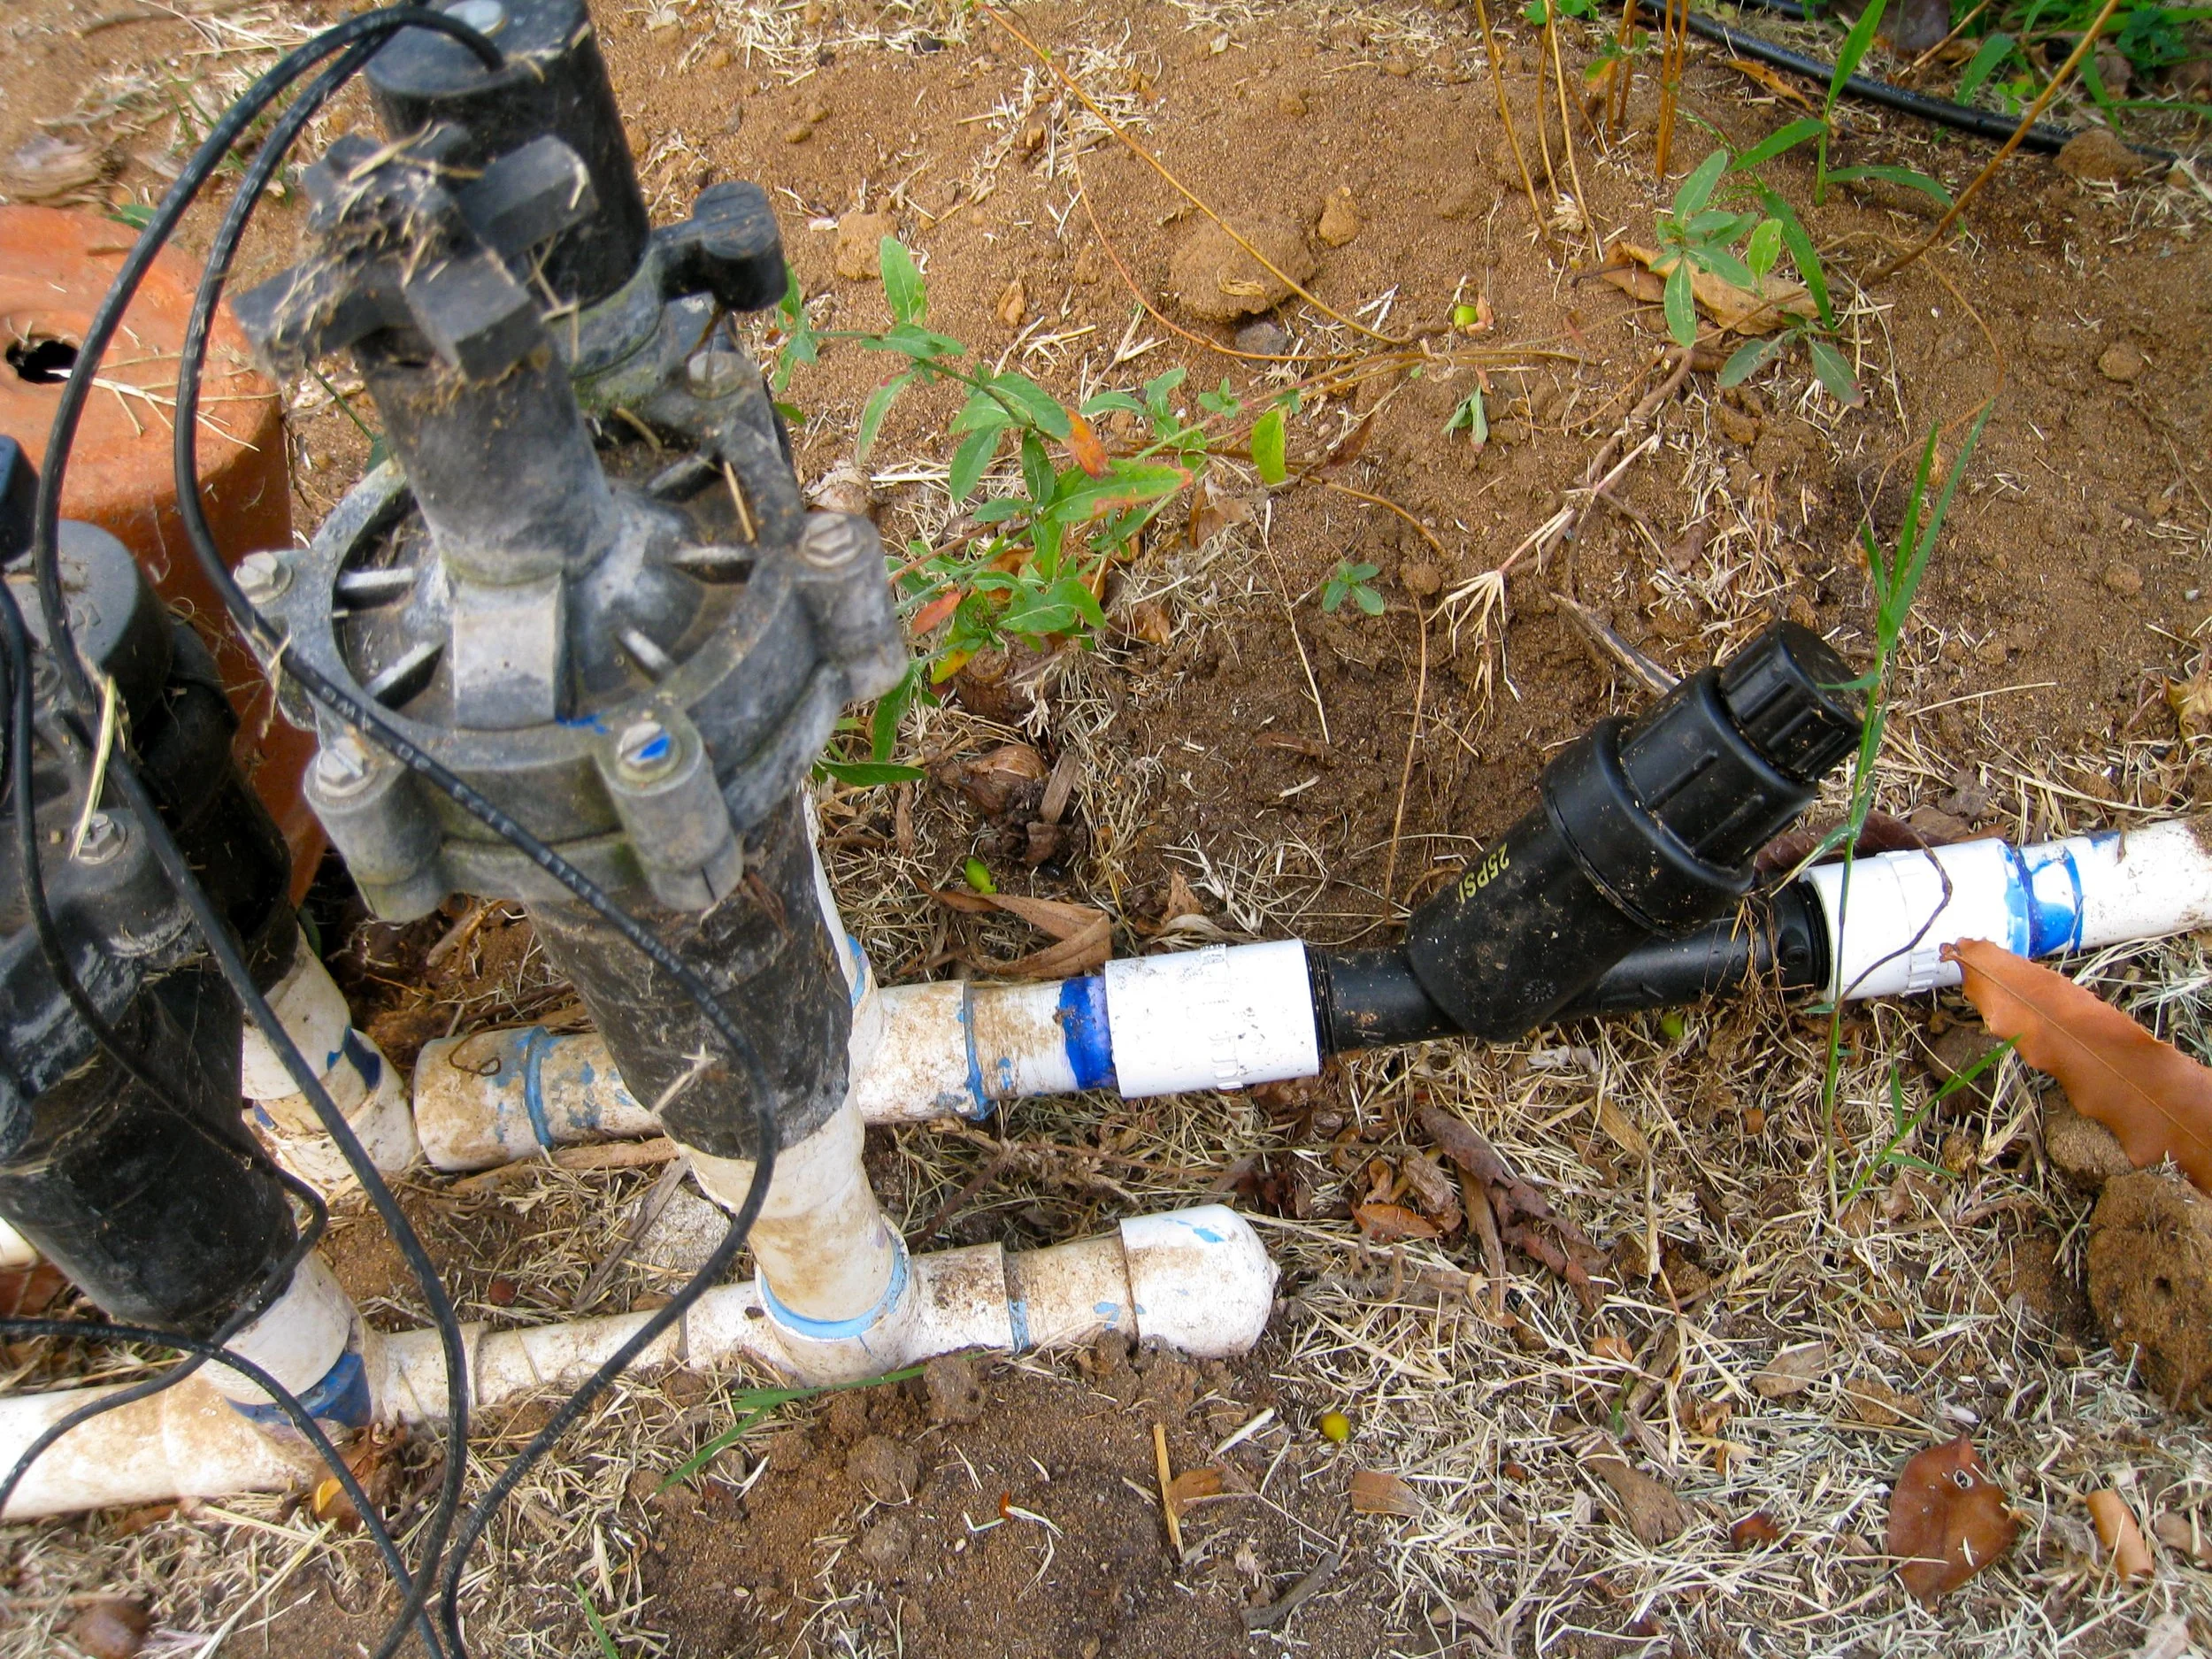
Above: Valve, water filter, and pressure reducer

Above: 1/4" drip line